In Assassin’s Creed Valhalla, there are 6 Lost Drengr scattered throughout Norway and medieval England. These ultimate soldiers are bannermen of a great King Ragnar Lothbrok, who dispersed after their liege was executed in a pit of snakes by King Ella of Northumbria.
However, to reach Valhalla, a Drengr must die in battle, and so the great fighters ask Eivor to do them the honor of a glorious death. But they’re not going to go lightly. The Lost Drengr of Ragnar Lothrok are some of the toughest fights in all of Assassin’s Creed Valhalla - but you can win if you prepare. Below are the locations of all of the Lost Drengr as well as tips on how to defeat them easily. To avoid early spoilers, we’ll add more Drengr to the list as we find them.
Assassin’s Creed Valhalla Lost Drengr - How to beat Erik Loyalskull
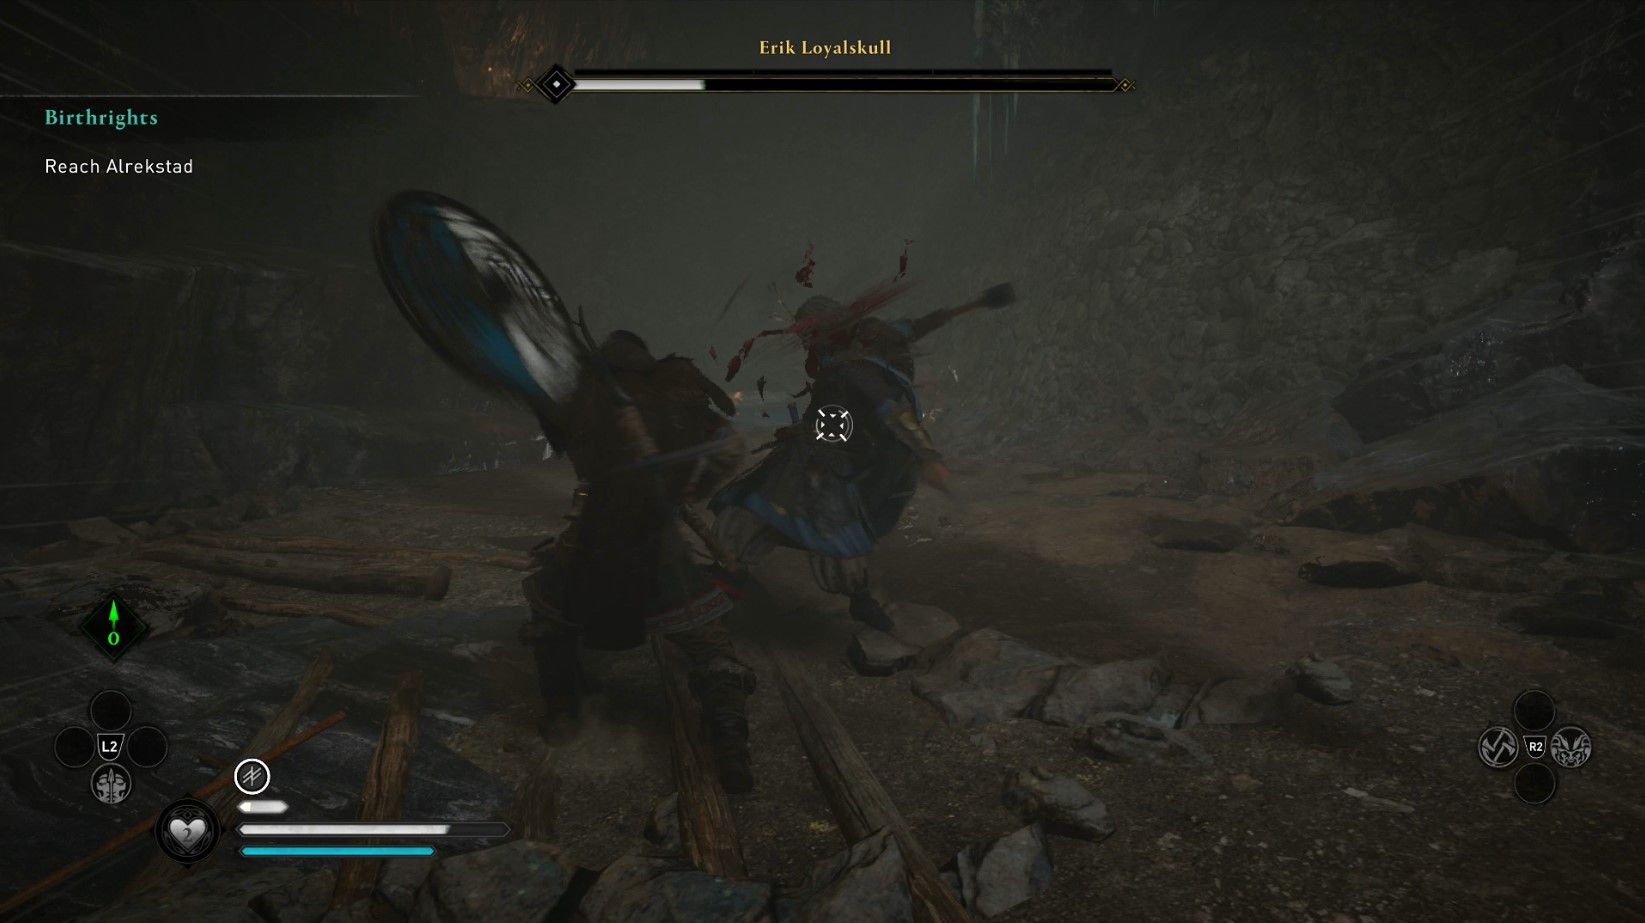
Erik Loyalskull is the first of the Lost Drengr and can be found to the north of Fornburg, Evior’s home at the beginning of the game. You can enter the cave at the top of the waterfall, and find Erik Loyalskull inside. Speak to him, and he’ll regale you with his tales of King Ragnar, before challenging you to a duel. This fight is significantly more difficult than anything you’ve come up against at this point in Assassin’s Creed Valhalla, but can be won. And on your victory, you’ll be rewarded with one of the best early-game weapons in Assassin’s Creed Valhalla. Watch the video below to see me demonstrate the following strategy. I think it’s best to approach this fight with a one-handed weapon and shield, as well as with either a light or hunter bow: Erik Loyalskull has four main attacks:
A five-hit throwing axe combo A basic overhead hit A heavy overhead combo And a Runic Attack
The easiest way to defeat Erik Loyalskull is to wear him down by parrying his basic overhead hit, and shooting his weak points and head with arrows to get off a stun attack. Remember to press R3 to lock onto Erik. Otherwise it’s easy to lose him in the camera angle and get hit. With the throwing axe combo, you have 2 options - either sidestep, or block. Parrying these hits in quick succession is very difficult, so it’s much easier to simply try and sidestep or dodge the first one or two throws, then block the rest with your shield. This should leave you with enough stamina to continue to dodge any follow up attacks. The reason I say to use a shield rather than an off-hand weapon, is that you can hold L1 to block the throwing axe combo, otherwise you’re stuck with the harder manoeuvre. The Runic attack is best avoided all together. You can recognise this attack by Erik glowing red and a symbol appearing in the air next to him. When this happens, either run or hold dodge to roll away from him. Next up is the heavy overhead attack, you can recognise this because it flashes red before he does it, but there’s no symbol. You can try to block these hits - which is possible, but difficult. Alternatively, it’s better to just backpedal away and wait for a better opening. That opening is the basic overhead hit. This opens with a regular attack, followed by a heavy attack. The basic attack at the start of this combo is really easy to parry, and is where a lot of your damage will come from. When he raises his arm with no red flash, this means he’s using the attack that’s vulnerable to parrying. Get in close and press L1 just before it hits you, and you’ll stagger Loyalskull. You can then follow up with one counter-hit. Don’t get greedy, or he’ll parry you back. Where you’ll drain most of his health bar though, is with arrows. Using either a light box or hunter bow, backpedal away from Erik - keeping on your toes and ready to block throwing axes.
Draw your bow and aim for the glowing areas on his body. When you hit one, it deals a massive amount of stagger damage to him. With three hits, he’ll be open to a stun attack which rips out about a third of his health. With your remaining arrows, aim for his head, and you’ll deal significantly more damage than with single hits from your parries. Once you’re out of ammo, return to parrying his attacks until his health is finished. Don’t get cocky at the end of the fight - if you try and rush in to spam down the last nub of his bar, you’ll probably just get parried and die, so be patient. For more help, check out our character building guide on the best skills in Assassin’s Creed Valhalla.

